How to Create a New Gift Voucher
Ok, so you’ve created your Voucher Connect account – next up is creating your voucher products!
The more voucher products you have to offer, the more options your customers will have to purchase vouchers from you.
Creating a voucher is really easy. Once you log in, you’ll be brought to your dashboard. On the left hand side, hit “Create a Product“

Ok, let’s get your voucher up and running.
Select “New a Voucher Product“
Here, you’ll be given a list of options. Just hover your mouse over each option, this will give you a breakdown of what they mean.
Say for example, you want to create a “Dropdown” voucher – this allows your customer to select from a dropdown of price options.
Give your voucher a name, something short and snappy! You can select various price points you want to include, along with a short description of what the voucher provides.
Next, you can add in a % discount or % bonus amount to your voucher product. This is a great way to boost your voucher sales.
Before you proceed – be sure to select which “Delivery Options” applies to your business. Print, Email (Recipient or Purchaser), Scheduled Email (Recipient), Postal, Click and Collect
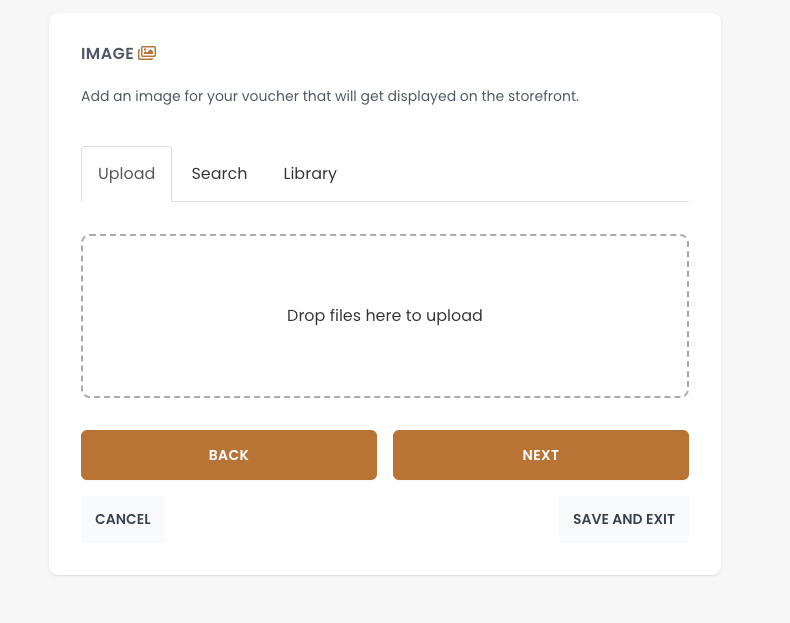
Next, you’re able to personalise your gift voucher. If you have an image you want to use, simply click and upload your file as shown below
Don’t have an image? No worries, we have a huge gallery of images for you to choose from – just click the “Library” button and search. E.g. “Mothers Day”
Ok, your voucher is starting to take shape!
Next, you’ll be given the option to display the value on the voucher – if you’d prefer to keep this private, simply slide this tab to “Off“
You can then choose to add a “Bonus Voucher” – i.e. “Free glass of bubbly with every massage”.
From here, you can select if you want the voucher to be partially redeemable – this allows your customer to use their voucher at different times, drawing down funds as they go.
Finally, on this page, you can input any terms and conditions you want to apply to the voucher. If you leave this blank, your default terms and conditions will apply.
You’ll then be able to set your vouchers visibility options.
Let’s say you’re running a Valentines Day promotion. You want your snazzy new voucher to appear on your storefront from February 1st until February 14th.
Using the “Visibility Controls” tab you can activate this feature. Simply slide the tab across to “On” and you’ll be given this option.
From the “Validity Controls” tab you can control when your vouchers can be redeemed, along with the expiry date.
We’re almost done, promise!
Before your voucher is good to go, you cancustomise your voucher template, using an image of your choosing or from our image library.
Lastly, it’s time to add those final touches.
“Enable Product” means your product is available immediately. If you want to hold off on activating your voucher, just select option “Off“.
If you want to test your voucher out before you go live, “Test Mode” is your man…
Before you finish up, you can ask for a phone number in case you want to check details with your customers.
Last on your list is a nice little touch to “Include Gift Messages”
This is a great way for your customers to add that personal touch to their vouchers.
…and that’s it! You’re good to go!
Simple enough, but if you need a hand with any of these steps – just give us a shout, we’re always happy to help!