Managing Product Images
Changing the voucher images displayed on your storefront just takes a minute, and we also have a library of images to choose from.
When you first set up your store, we’ll set a default image on the voucher, but if you’d like to change it, it only takes a minute.
Head over to your products page and click the edit button on the voucher you’d like to change the image for,
On the Voucher Edit page, click Next to go to the second step, where you’ll be able to upload a new image, or search for a suitable image in our library.
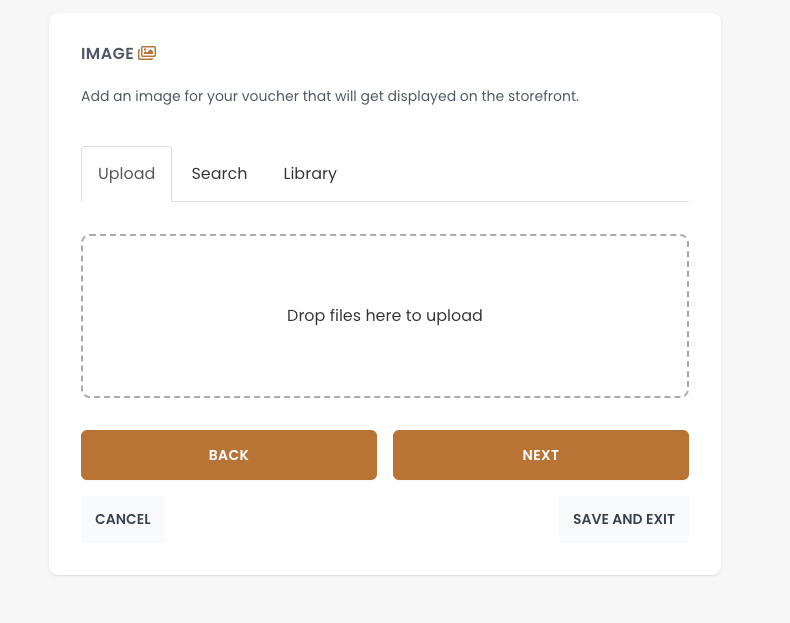
To upload an image from your computer
If you have an image on your computer, you can drag it into the blue box, or you can click inside the blue box to bring up your file browser to locate the image on your computer.
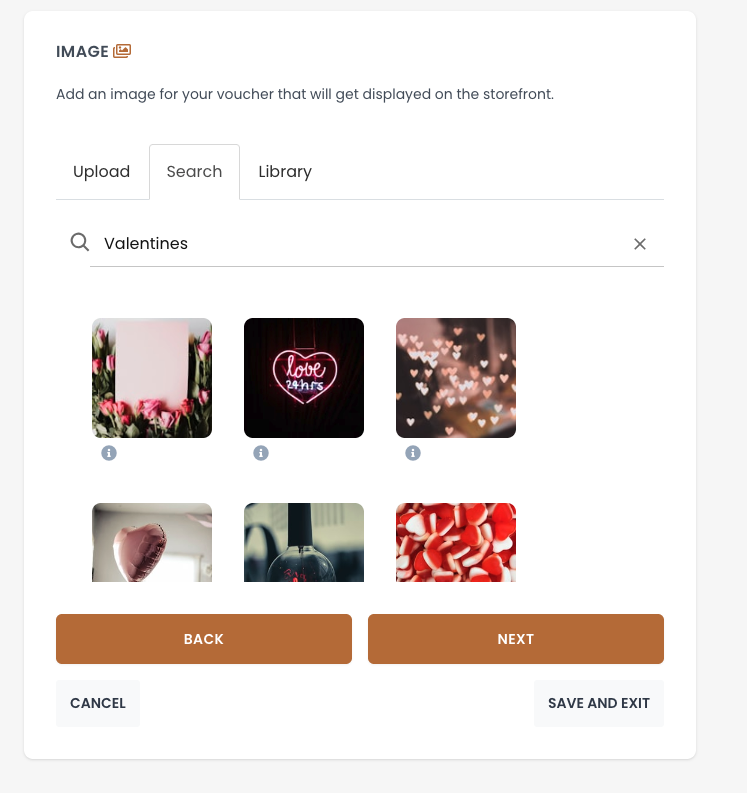
To pick an image from the library
Click on the Library tab, and from there you can search for a suitable image for your voucher. To select one, click on it and click select.
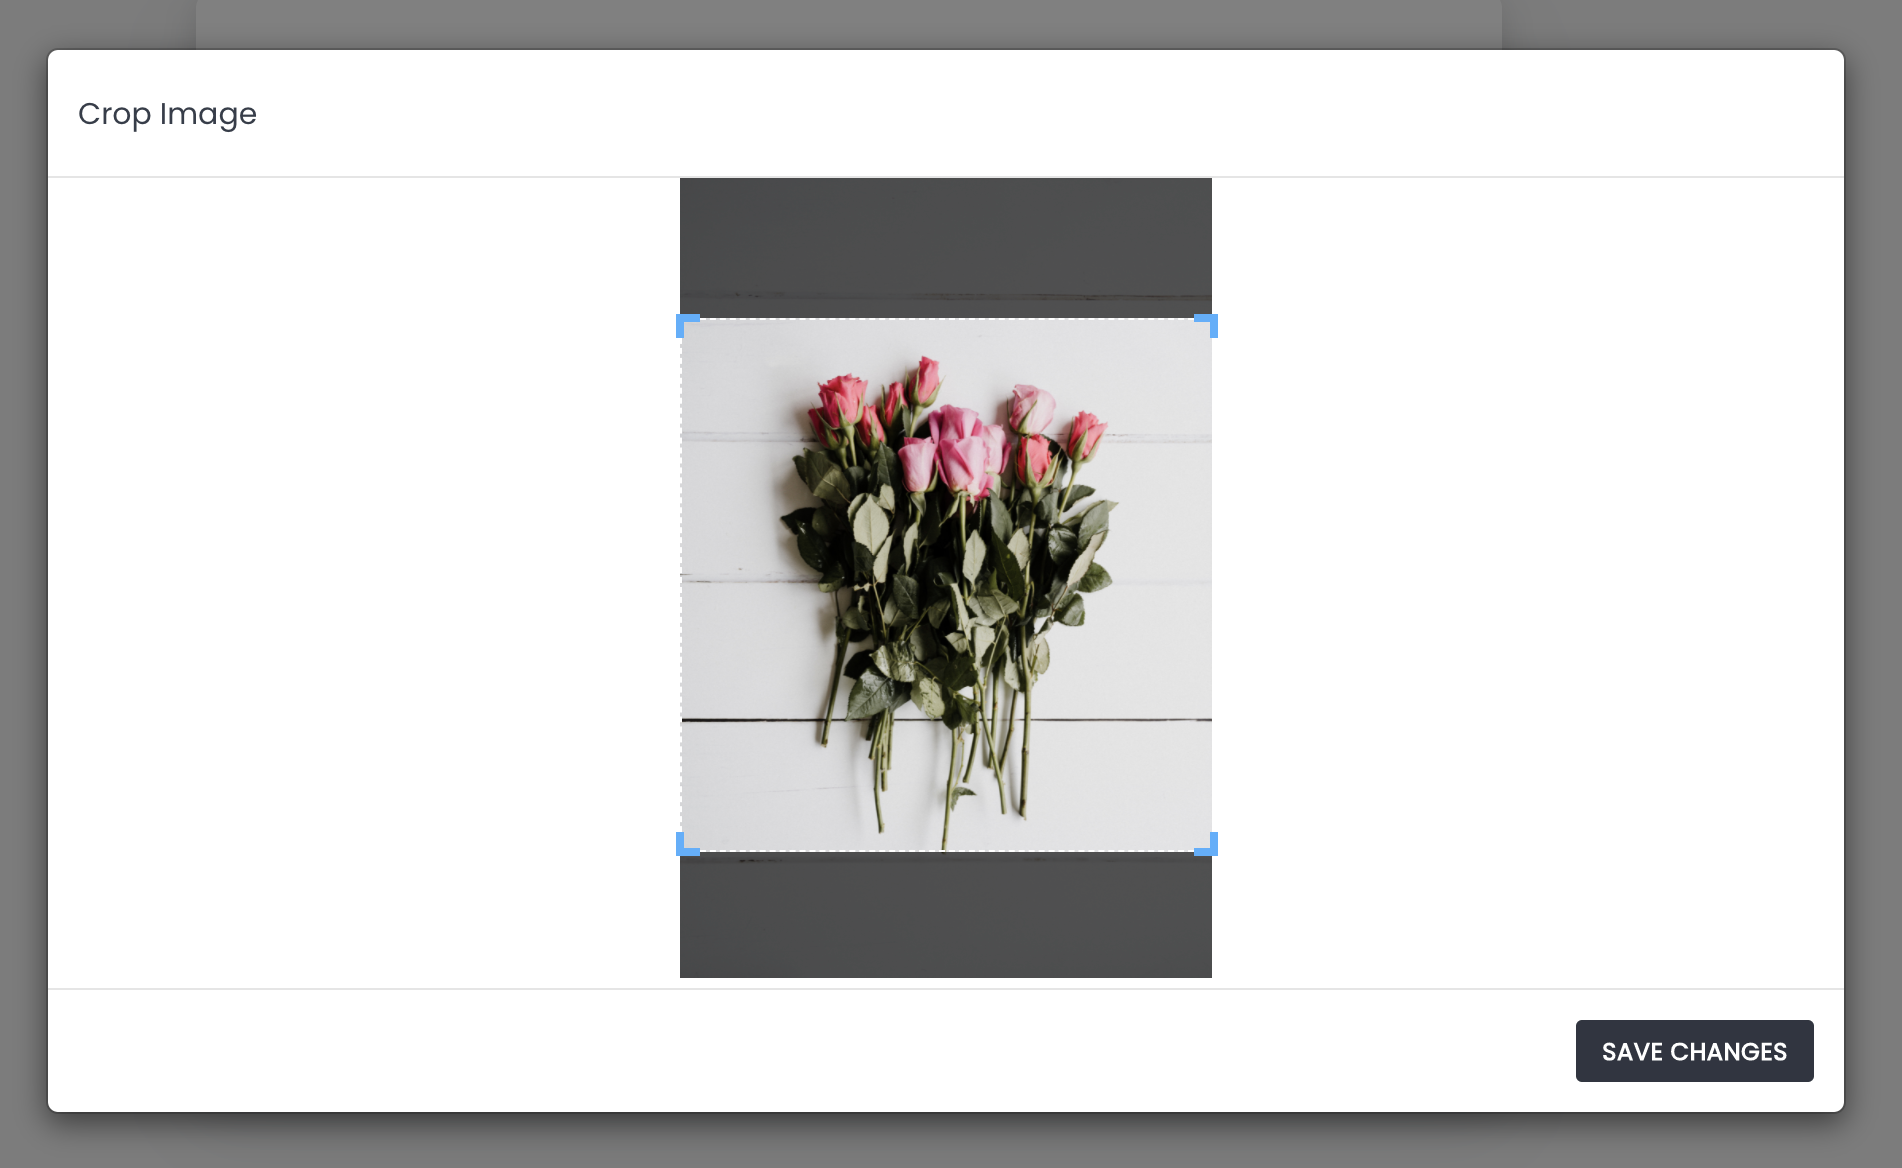
Cropping your image into a square
You’ll be asked to crop your image into a square so that it fits nicely onto your storefront. You can drag the corners of the selection box to change how your image gets cropped.
After you’ve cropped your image, you can click next to continue editing your voucher product, or you can just click Save & Exit.
That’s it, you’ve changed the image on your Voucher product.