How to Create a Special Offer

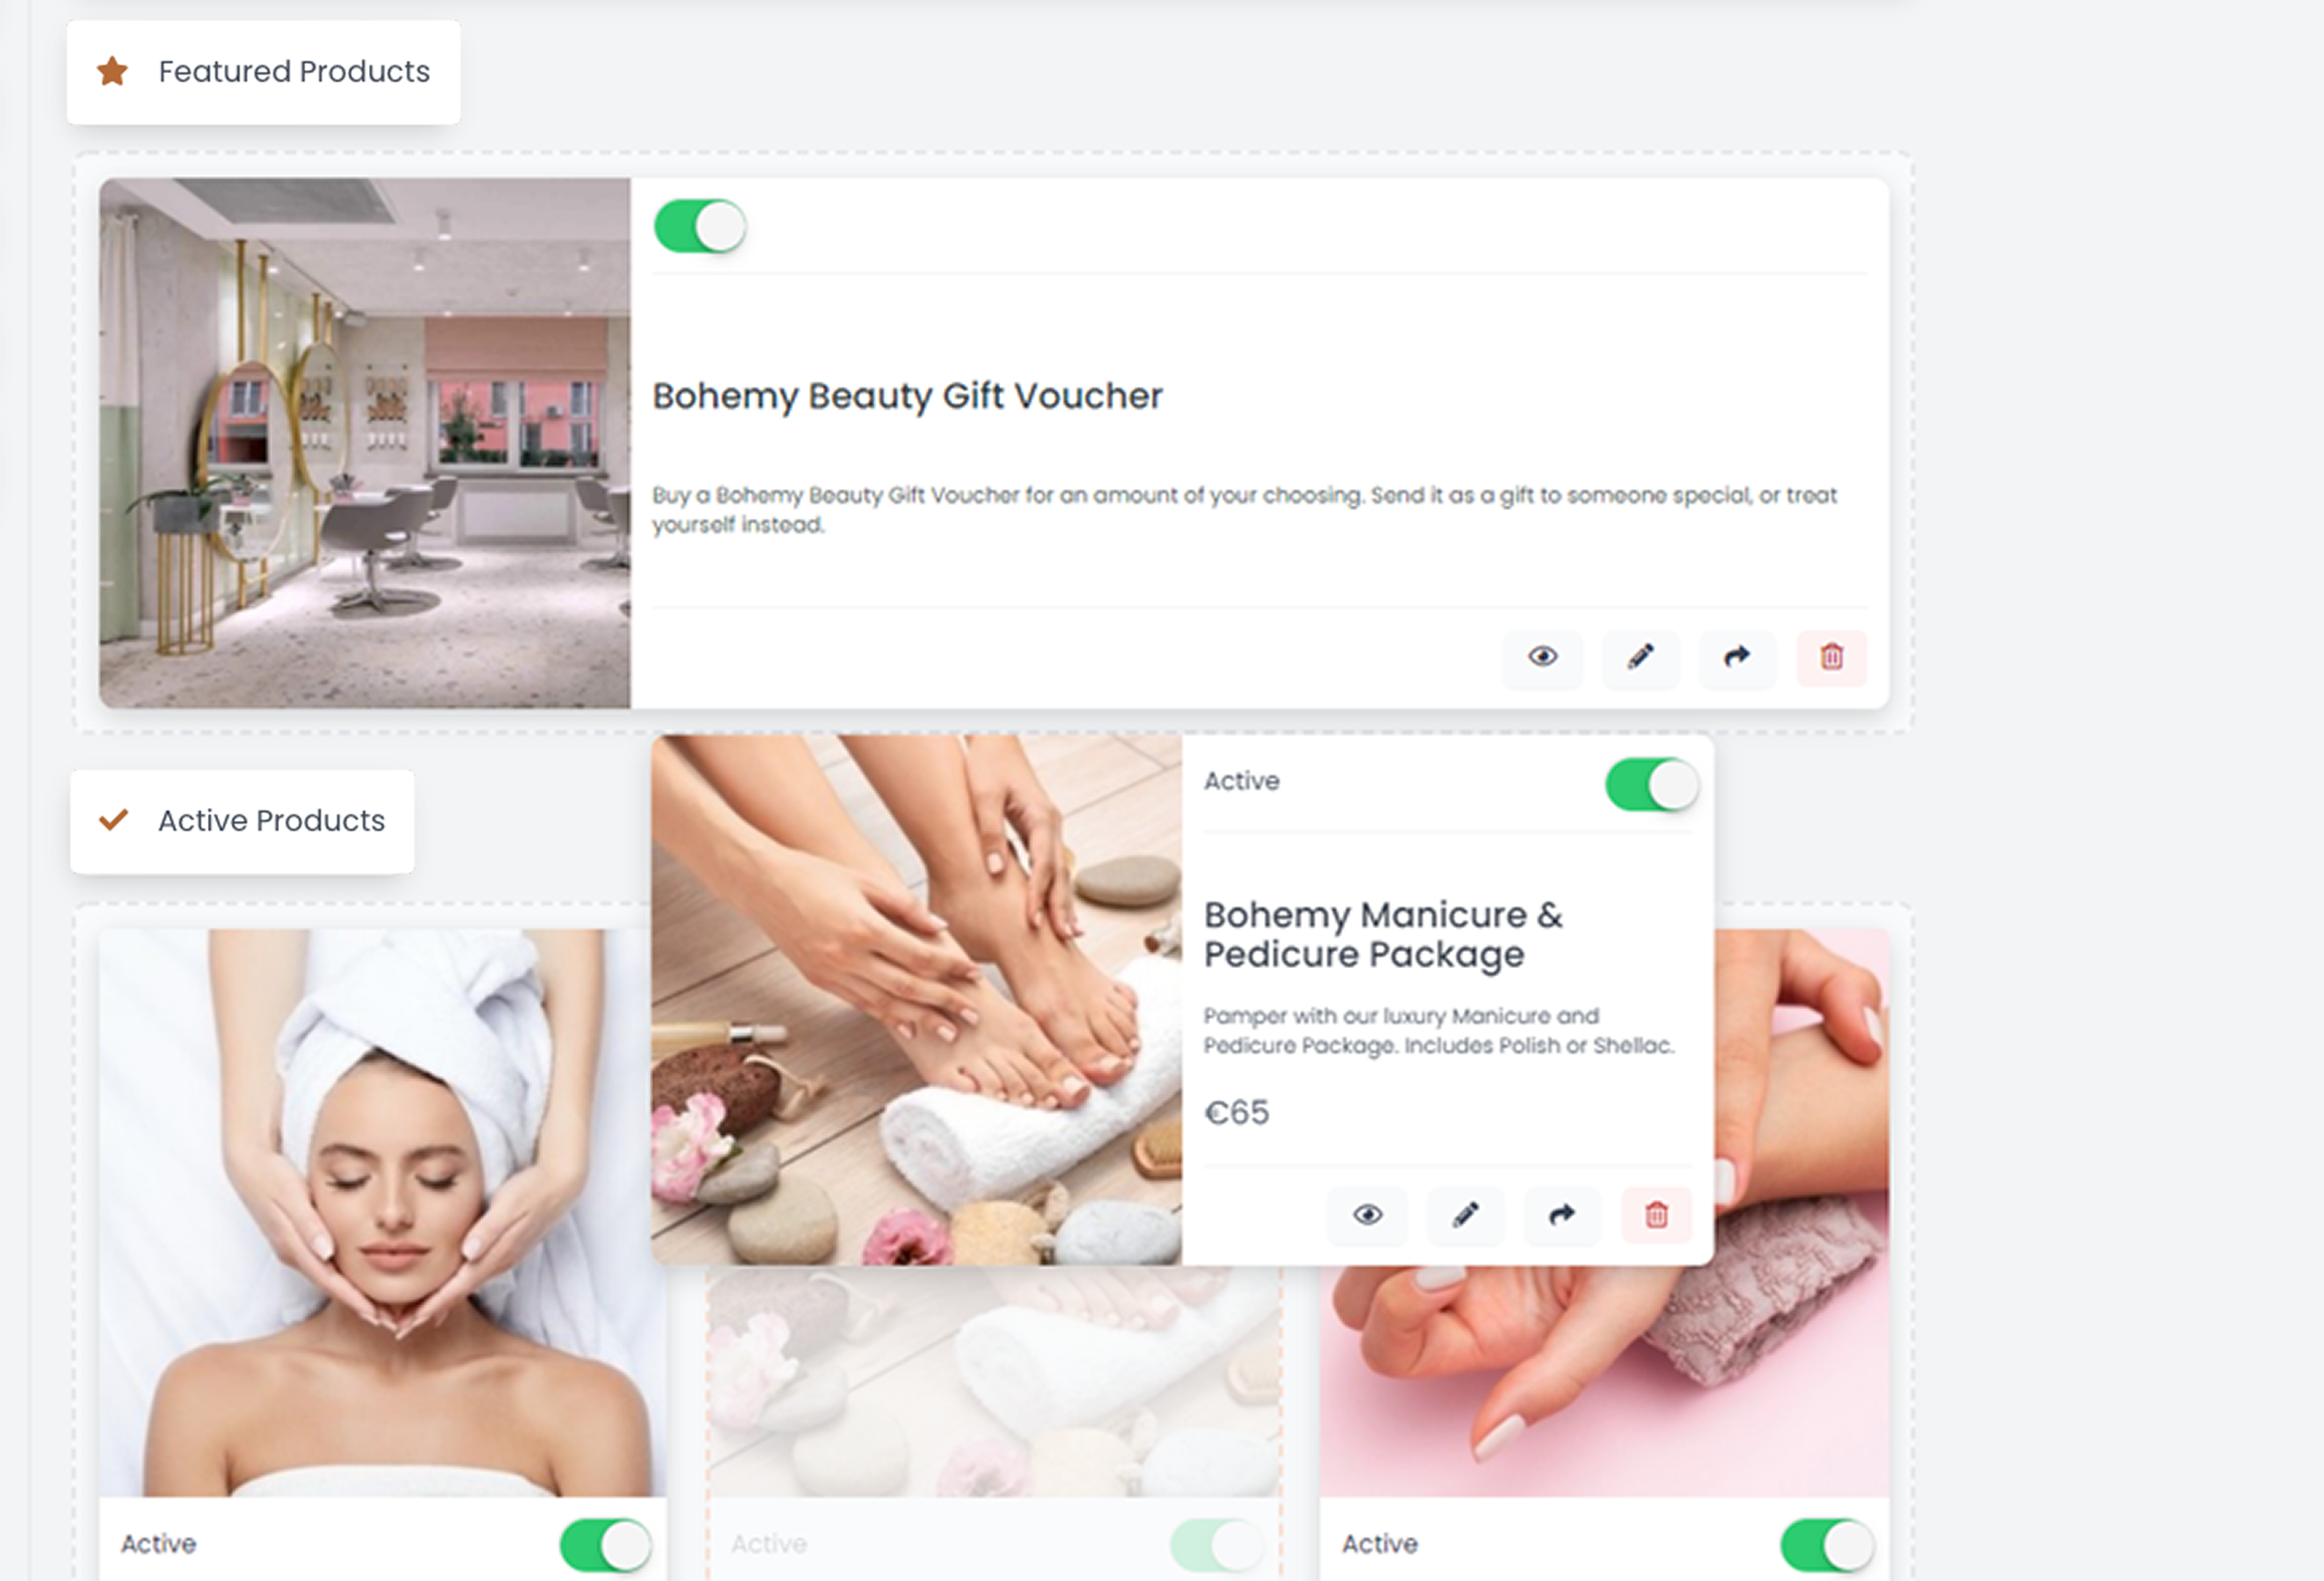
Special offers are easy to set up, and customers love them.


To create a Special Offer, go to the dashboard, and click on Products in the main menu.

On the products page, click Create a Product, and Create a Voucher Product.

Set the Voucher Type to Fixed Price.

Give your offer a name. You can click on More Options here and you can set different names for the voucher depending on where they will be viewed. They will all remain the same as the Internal Voucher Name if you don’t update them.
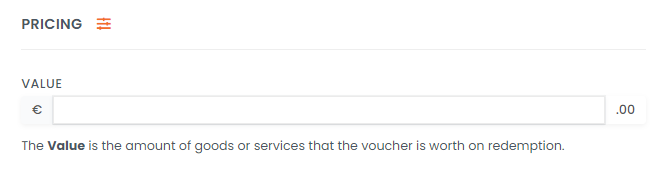
Pricing

Next up is Pricing.

This is where you can control how much of a discount your customers will get. You can click Add Discount or Add Bonus.

In this example, I’m adding a discount and making a €100 voucher available for only €80.


Quantity Available

You can also put a limit on how many sales of your special offer you would like to allow. Simply switch on the Quantity Available and enter your limit in the box underneath.


Pop in a Product Description so you can tell your customers more about this great offer and choose the Delivery Options.

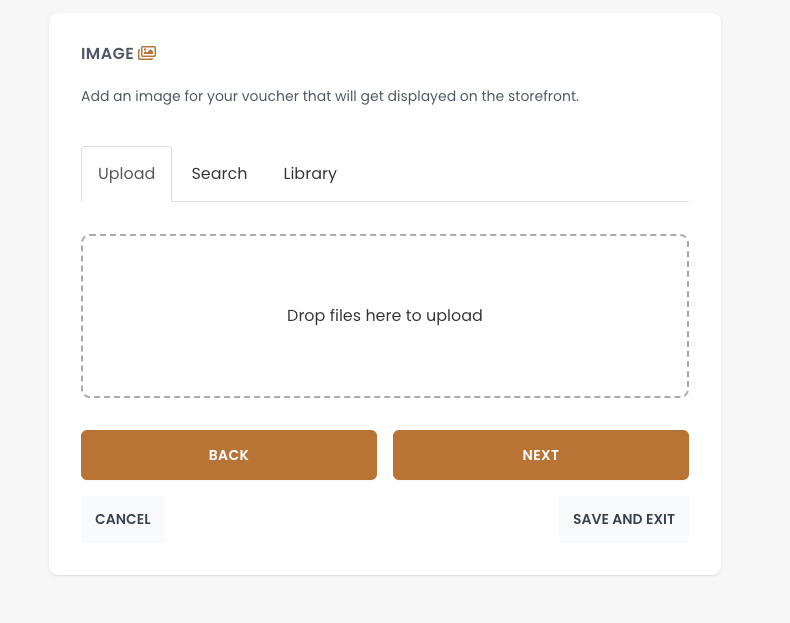
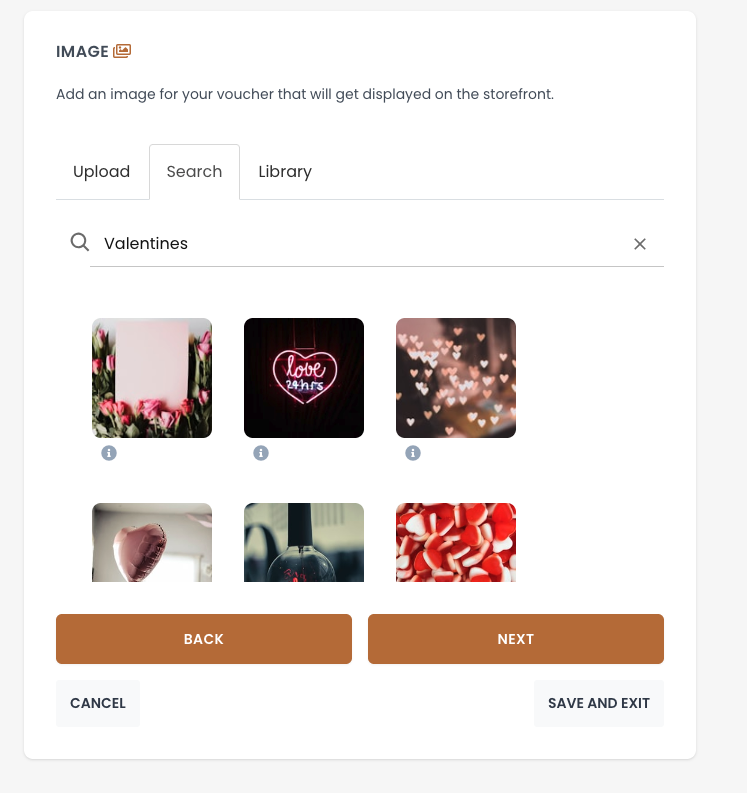
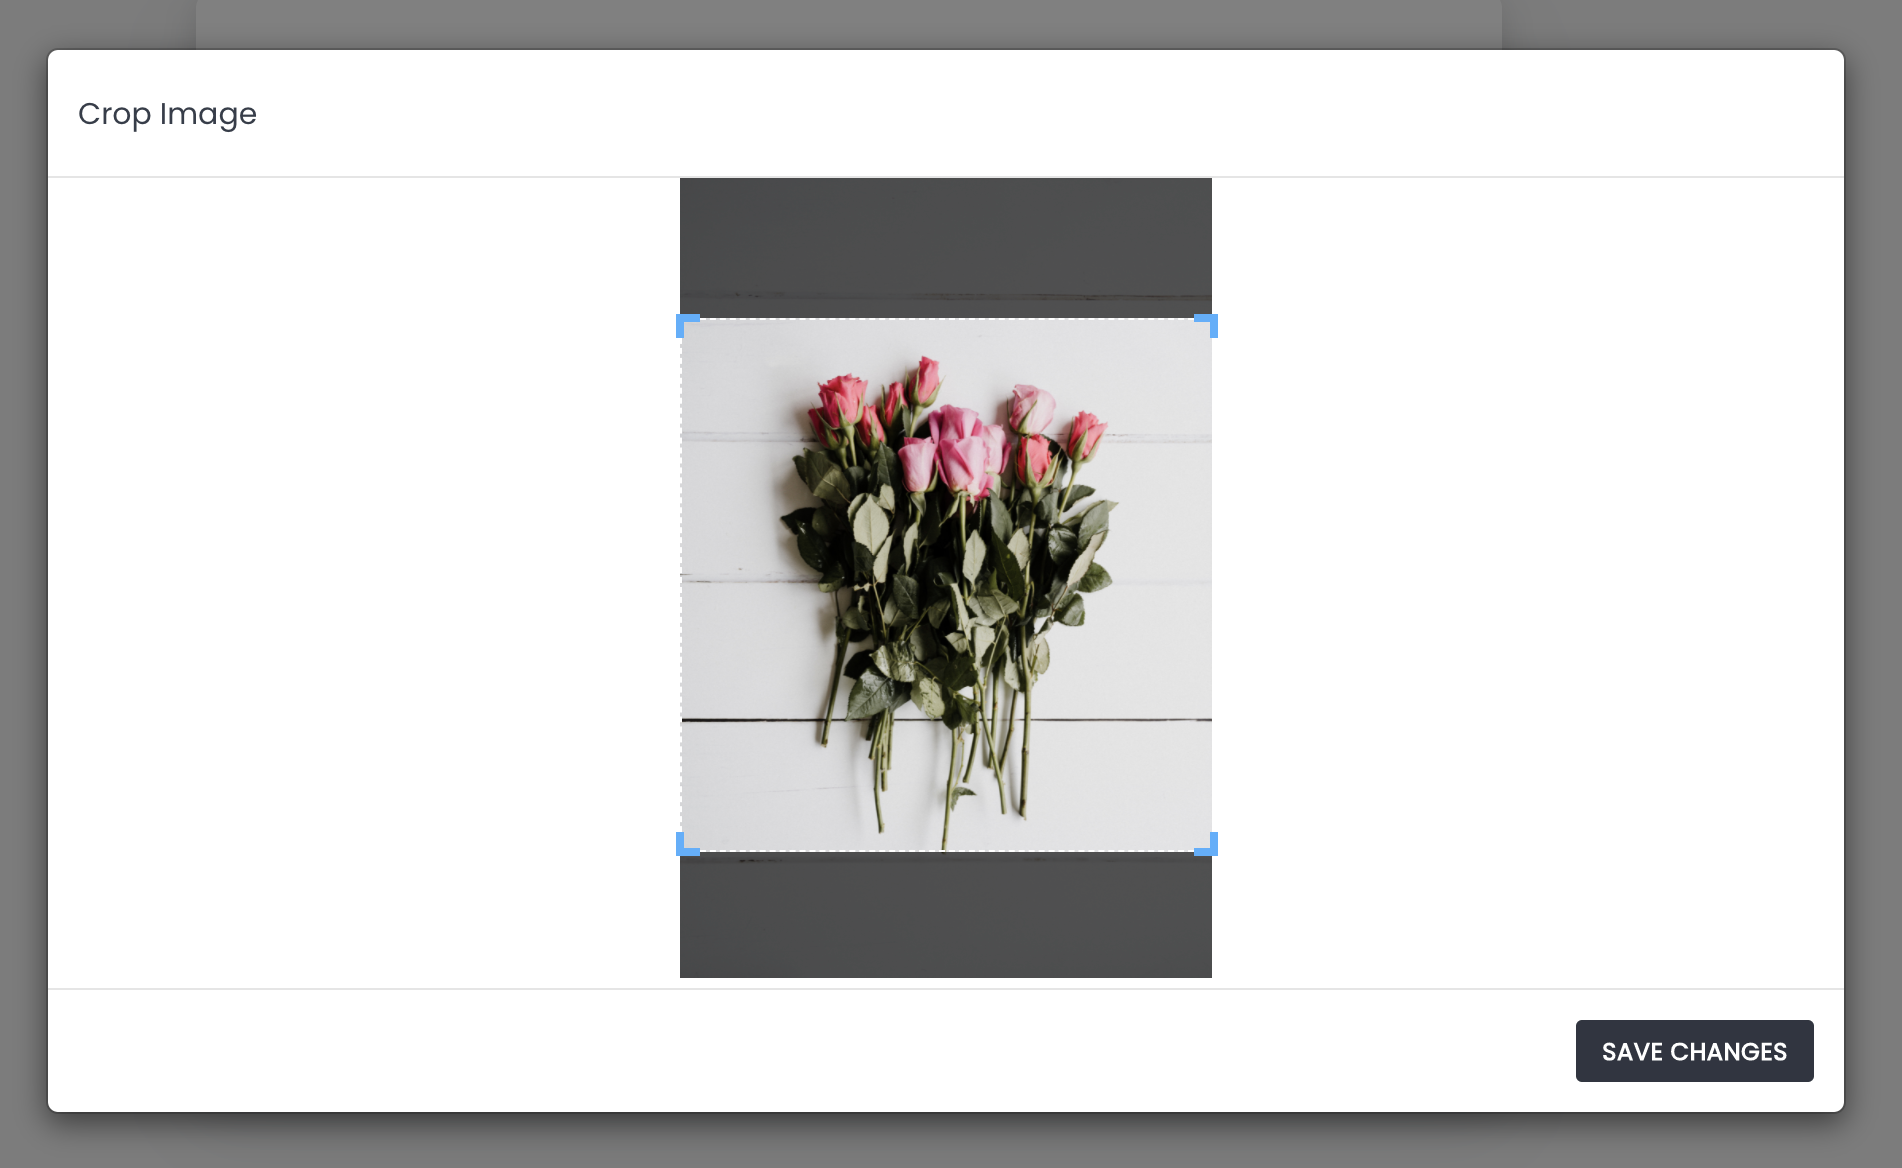
Click Next and upload or select an image to use with the offer, something that will catch your customers eye.

On the next step, you’ll see options to Display Value on Voucher, Add a Bonus Voucher, enable Partial Redemption. you can also set your Terms and Conditions for the offer. If you leave them blank, your default Terms and Conditions will apply.

Visibility

Almost there now! Next you’ll find Visibility controls.

Visibility controls let you schedule your Special Offer so that it’s only available on your storefront for a certain period, or you can make your offer available only via link. 

Here, I’ll set up the voucher so that it’s available one month before Valentines Day.


Validity

Set your valid from and expiry dates next. They default to From Purchase Date and No Expiry.

Lastly, your Voucher Template. Here you can customise the voucher customers will receive for this offer.

Once you’ve clicked Finish on the final step, your Special Offer will be available on your Storefront.

Happy Selling! 😃

If you need a hand with anything, just let us know. We’re always happy to help!

224 views

Managing Product Layout


Managing the layout of your products.

You might want to make the special offer voucher the main product on your storefront to attract attention to it, no problem. Let us show you how to manage the layout..

Pop over to your Voucher Connect dashboard

Click on products from the main menu.

Here you’ll see all your voucher products.

There are 3 categories here –

Featured: These are the products that will appear horizontally on the top of you storefront.

Active: These are the products that are currently active for your customers to purchase.

Inactive: These products are currently not showing on your voucher storefront.

To change the active / inactive status, you can click the toggle underneath each voucher image.


Positioning Products on your Storefront

If you would like to reposition your products on your storefront, you can do so by clicking on the product image, a curser hand will appear so you can move the product to where you would like it to be. Such as moving to Featured Products or rearranging the position of each product.


Your changes will automatically be updated so you can pop straight over to your storefront to take a look.

If you need a hand with anything, we’re always happy to help! 😊

47 views

Explaining Product Types

Here we explain the different types of Basic Voucher Product types.

Dropdown Products


To help you get selling as quickly as possible, every new store comes with a Voucher Product set up already. 

This is a Dropdown Product

The users can select their desired value from a dropdown menu (€50,  €100,  €150 etc.)

You can also add in your own price options here, if they are not already showing. Pop in the price and click add option.


Fixed Price Products


If you would prefer to sell your voucher at a fixed price, you can set your voucher to be fixed price in the first step of product setup. You can enter your fixed price value in the


Customer Defined Value ( Pay What You Want)


If you set the voucher type to Pay What You Want, your customer can choose the value for their voucher before they purchase.

If you have any questions, just let us know. We’re always happy to help.

224 views

How to Set Voucher Expiration or ‘Valid From’ Dates


If you would like your vouchers to have an expiry date OR a ‘valid from’ date, Voucher Connect makes it simple.

By default, vouchers do not have an expiry date. If you would like to add an expiry to your vouchers, simply head over to your dashboard, click Products from the main menu, and then click edit on the voucher product you would like to add an expiry to. 

This will bring you to the edit voucher product page. Click next on each page until you reach Validity Controls.


Here you will see you have the option to set a Valid From date and an Expiry Date.

A Valid From date is useful if you only want customers to redeem after a certain date. By default the voucher is valid from purchase date.

Next is the Expiry date, you can choose from the dropdown list here to set vouchers to expire in 1 month up to 5 years or you can leave it as No Expiry.

Keep in mind that it is legally required in the Republic of Ireland that all Monetary vouchers are valid for 5 years. A shorter expiry can be set to vouchers sold as special offers.

When you are ready, click on Save and Exit to save your changes.


Note: If you have sold vouchers with no expiry date and then you add an expiry date later, this expiry date will only apply to the next vouchers that you sell, and there still won’t be an expiry date on those vouchers that you previously sold.

If you need a hand with anything, we’re here and happy to help 😊

292 views

Managing Product Images


Changing the voucher images displayed on your storefront just takes a minute, and we also have a library of images to choose from.

When you first set up your store, we’ll set a default image on the voucher, but if you’d like to change it, it only takes a minute.

Head over to your products page and click the edit button on the voucher you’d like to change the image for,

On the Voucher Edit page, click Next to go to the second step, where you’ll be able to upload a new image, or search for a suitable image in our library.


To upload an image from your computer

If you have an image on your computer, you can drag it into the blue box, or you can click inside the blue box to bring up your file browser to locate the image on your computer. 

To pick an image from the library

Click on the Library tab, and from there you can search for a suitable image for your voucher. To select one, click on it and click select. 


Cropping your image into a square

You’ll be asked to crop your image into a square so that it fits nicely onto your storefront. You can drag the corners of the selection box to change how your image gets cropped.


After you’ve cropped your image, you can click next to continue editing your voucher product, or you can just click Save & Exit. 

That’s it, you’ve changed the image on your Voucher product. 

249 views

Get A Demo

Leave your name, phone number and email address and we will be in touch to arrange a demo.

Boost revenue by 62% ?

The gift card solution that costs less and delivers more