Top up or load a voucher through your Voucher Connect dashboard.
We have put together a handy guide to make topping up vouchers quick and easy for you and your staff.
The easiest way to top up a voucher is through the Voucher Connect mobile app, by scanning the QR code on the voucher but you can also do this through your dashboard by entering the voucher code.
Pop over to your Voucher Connect dashboard.
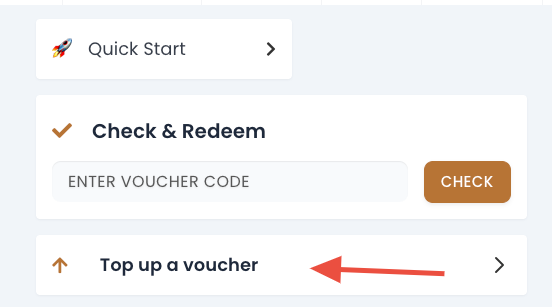
Click on Top up a voucher from the left hand menu.
From here, you can enter the voucher code and click select top up amount.
Enter the amount you would like to top up the voucher and click confirm.
The voucher has now been topped up.
That’s all there is to it 🤗
As always, we’re here to help. If you need a hand, just let us know 😊
It’s easy to redeem a voucher. Let’s see how it works.
We have put together a handy guide to make the voucher redemption process as smooth as possible for you and your staff.
Upon a purchase of a voucher, a unique identifier (voucher code) is created.
When a customer wants to redeem their voucher, they may present a gift card, printed voucher, or might present the voucher email from their phone.
You can use the Voucher Connect mobile app to quickly scan and redeem the voucher, using the QR code on the voucher.
Alternatively, you can input the voucher code into the voucher connect dashboard to redeem the voucher.
The Voucher Connect mobile app makes it very easy for any member of staff to scan and redeem a presented voucher. The Voucher Connect app is available on iOS and Android – just search in the App Store or Play Store for Voucher Connect.
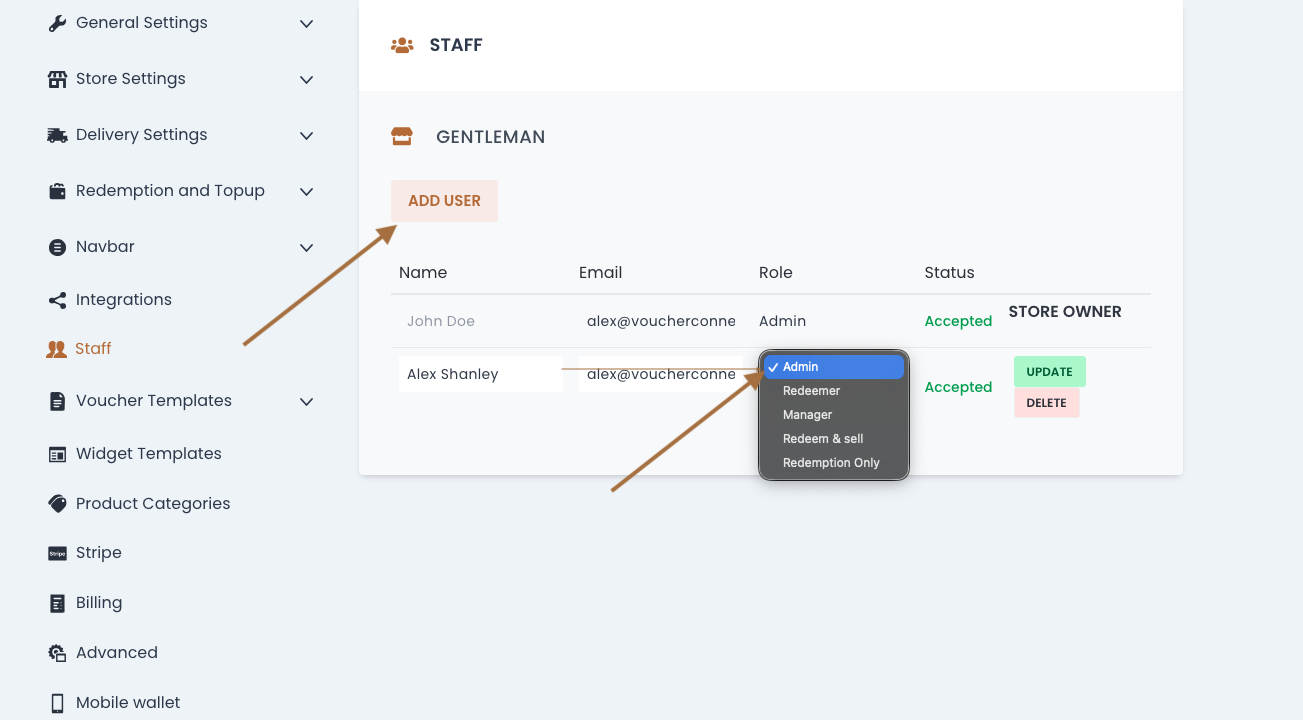
Ensure your staff have their own Voucher Connect accounts so that they can log in to the app, and so that you can keep track of who is redeeming which voucher.
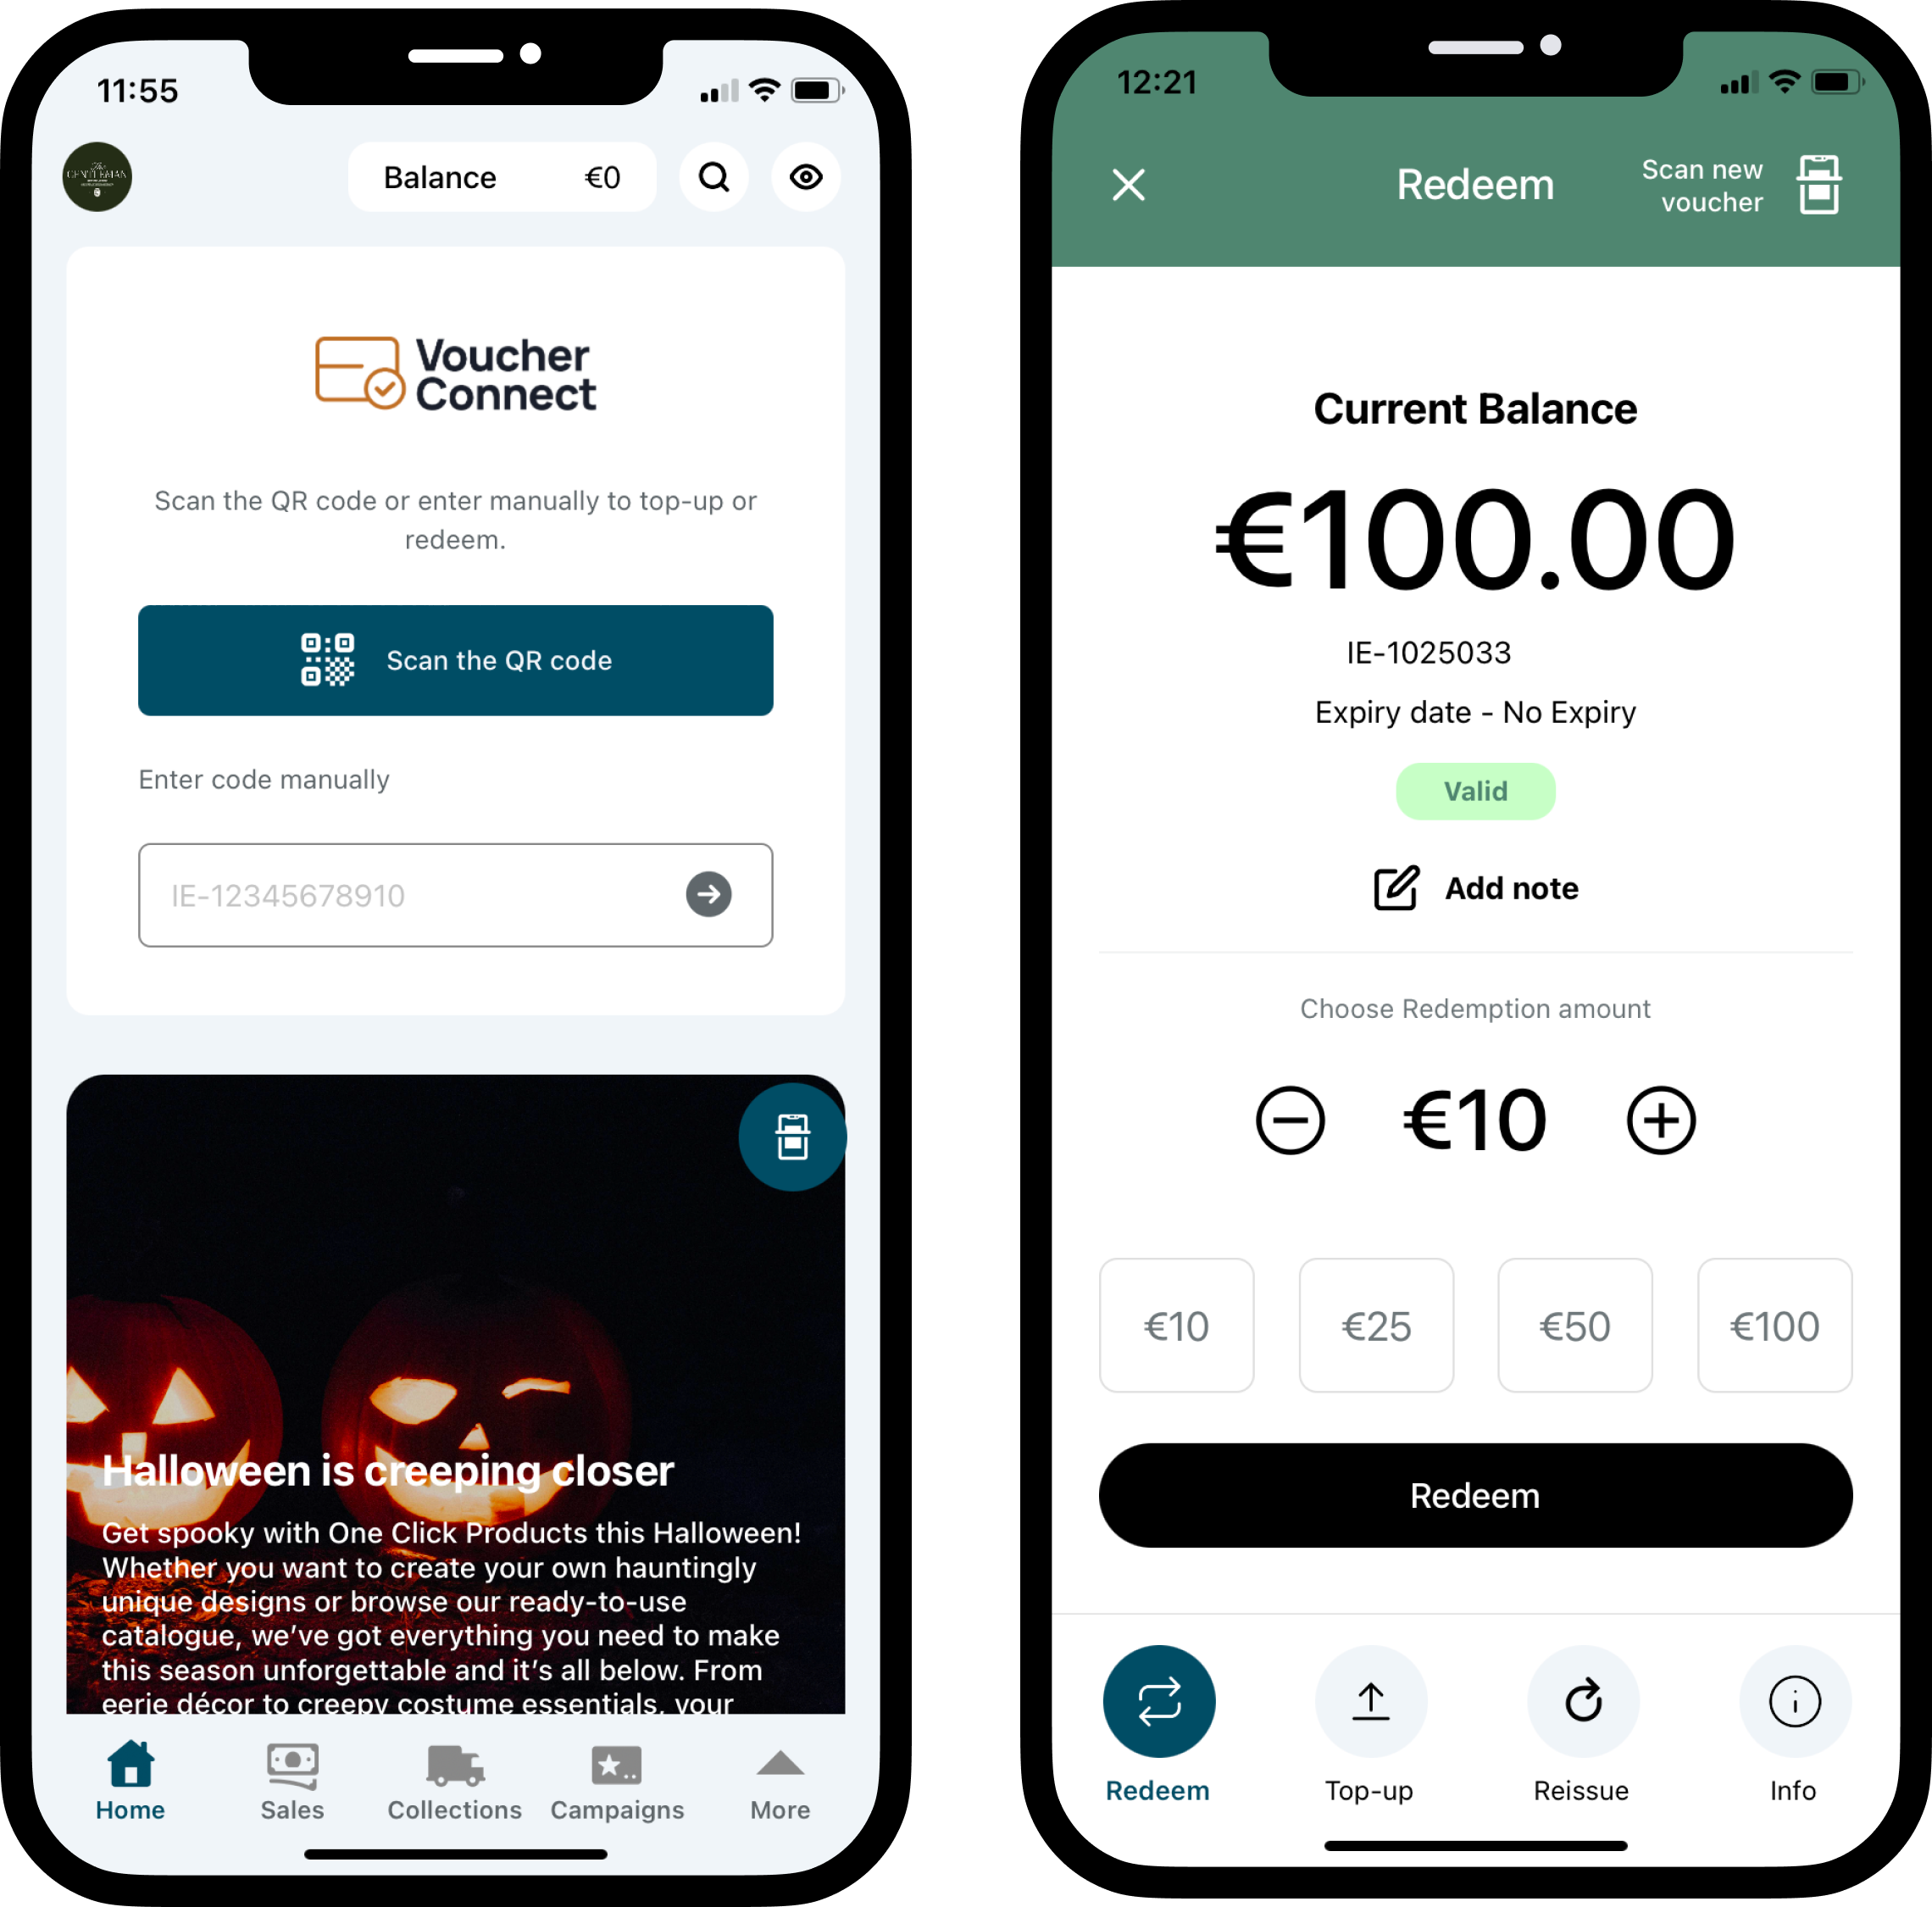
How to redeem a Voucher with the mobile app:
Use your Voucher Connect user account to log in to the app.
On the Redeem page, select Scan. This will activate mobile’s camera for QR code scanning. You can also manually input the Voucher Code.
You will then be presented with the remaining balance left on the voucher.
Enter the redemption amount and press redeem.
PS: The customer can redeem the voucher partially many times until the value hits zero, or if partial redemption is disabled on your product, the voucher can only be redeemed once in full.
How to redeem a voucher using the dashboard
On your desktop, log in to your Voucher Connect account. This will bring you to your store’s dashboard.
On the upper left side of the page there is a field for inputting the Voucher Code.
After inputting the voucher code, select Check.
The remaining balance left on the voucher will then be visible and (if partial redemption is enabled) the customer’s desired amount of the voucher can be redeemed.
Finally, we recommend entering the voucher code into your Point of Sale for your end of day report.
We hope this helps. If you run through any issues, don’t hesitate to contact us and one of our team will help you through it.
Offer your customer a free voucher, using Giveaways.
Introducing our newest feature, Giveaways! Do you ever wish you could show your loyal customers just how much you appreciate them or would like to attract new customers to your business, giveaways is your answer.
You can create a giveaway through your Voucher Connect dashboard, share the link with your customers and they will get a nice free gift voucher straight to their inbox.
Let me show you how…
Pop over to your Voucher Connect Dashboard. From the Products menu dropdown, choose Giveaways.
Click Create a Giveaway and start entering the giveaway details.
Next you can fill in the generic recipient details of the voucher, leaving a gift message and setting T&C’s if they are different to your existing T&C’s.
Click Save and you’re good to share with your customers.
Your Shareable Link is located under Controls.
You can share the URL of this link to as many customers as you like from your database.
In turn they will receive a lovely surprise to their inbox allowing them to enter their email address for a free voucher:
If you need a hand with anything, we’re always here to help!
Bonus products are a great way to get your customers coming back more than once.
You can set up your Voucher Connect store to give your customers something extra.
An example of a bonus product:
Every customer that buys a €100 gift voucher, gets a €20 bonus voucher.
Bonus products are completely customisable so you can create any kind of offer that works for your business.
With Voucher Connect, it’s easy to set bonus products up. Let me show you..
How to create a bonus product
Let’s say we want to give our customers a bonus voucher worth €20.
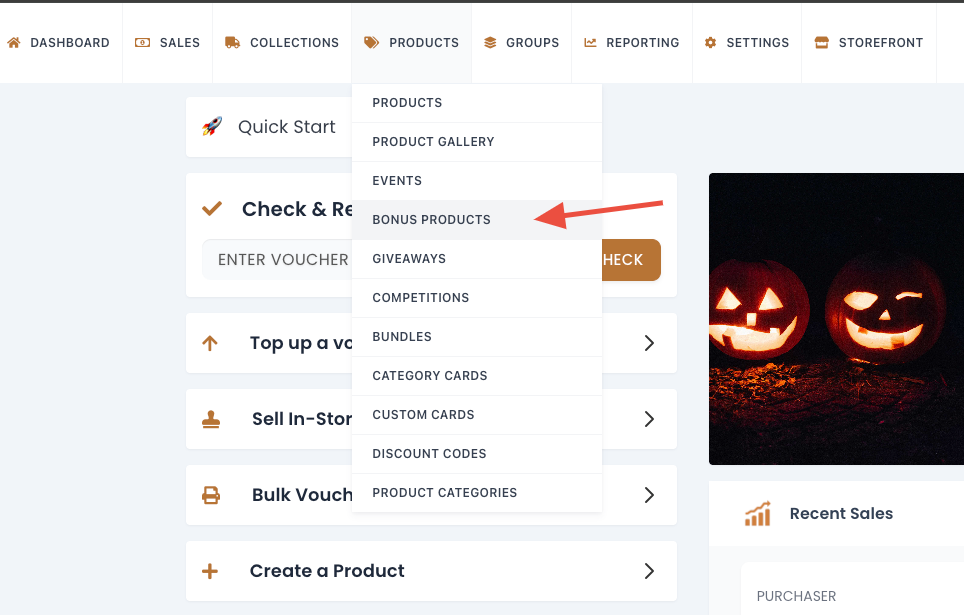
Head over to your dashboard, and select Bonus Products from the Products dropdown.
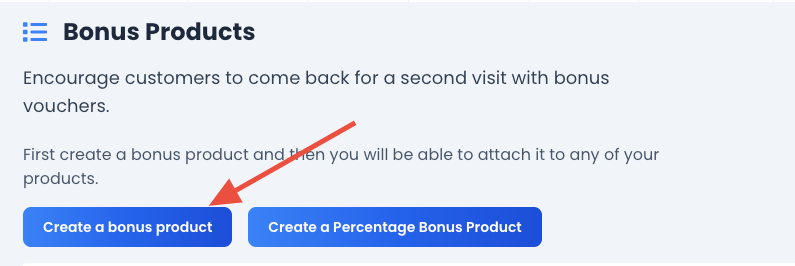
Click Create a New Bonus Product.
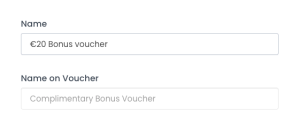
Give your Bonus Product a name. We’ll call ours “€20 Bonus Voucher”. You an use the same name for ’Name on Voucher’ also or use something different if you like.
Set the voucher value:
Set the expiry date and valid from date for your bonus voucher here. I’ve set it as ‘No Expiry’ so that the customer can come and redeem at any time in the future.
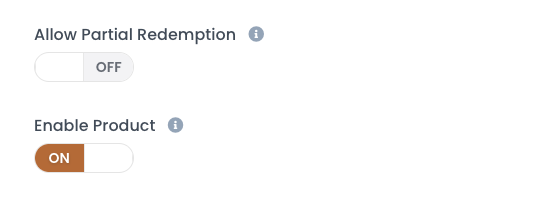
You will also have the option to set the voucher to partial redemption, meaning that customers can redeem part of the voucher now and the rest at another date.
Set the enable product to on so that your customers can avail of it right away or come back at a later date to this.
After that, click the Create Bonus Product button and you’re good to go!
Great, we’ve created our bonus product. The next step is adding it to a voucher product.
Adding the bonus product to a voucher product.
Now that we have created our bonus product, we can add it to a normal voucher product.
Click on Products in the menu, and click Edit on the product that you would like to add a bonus to.
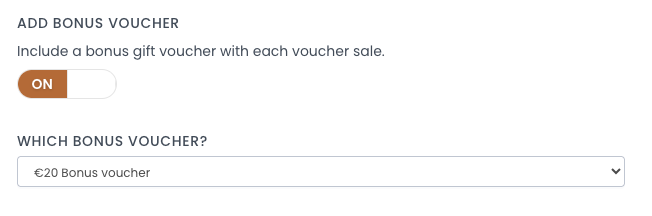
Click on the Next button twice to get to the Pricing page, and then scroll down to the switch that says Include a Bonus Voucher, and switch that on.
In the Which Bonus Voucher box that appears, select the bonus product you created earlier.